
THE VERTICAL BANQUET CAMERA PROJECT Part II
by
JB HARLIN
Originally Published in the January/February 2006 Issue of View Camera Magazine.
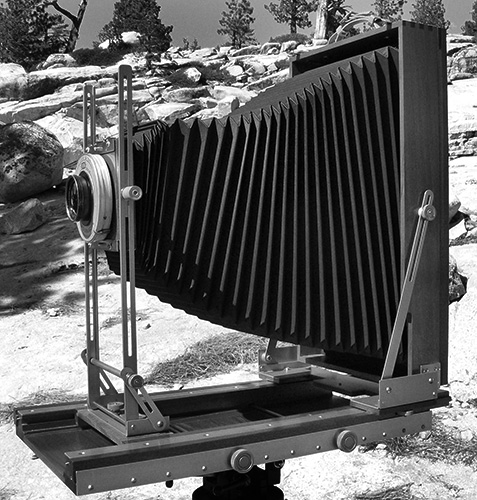
In part one of this article I explained how, and why, we undertook a complex project like building two wooden cameras from scratch. We began by building a 4×10 vertical camera. This was my first attempt at building a wooden field camera totally from raw materials. It was a test bed for the second part of this project. . . the construction of the vertical 8×20 camera.
The same design criteria was used for this camera. Since the factory horizontal 8×20 is an 8×10 camera with a conversion back, the same limitations applied. If you install a vertical back on the camera bed, you do not have enough rise to get the lens into the center of the back. And if you make the front standard longer, you cannot close the camera. Again, a longer bed and front standard are needed.
The 8×20 project started exactly as the 4×10. The factory camera was dissembled, measurements were made, and a set of drawings were created. These drawings were next modified to reflect the resized camera. Once I felt I had a valid set of piece part drawings, fabrication began.
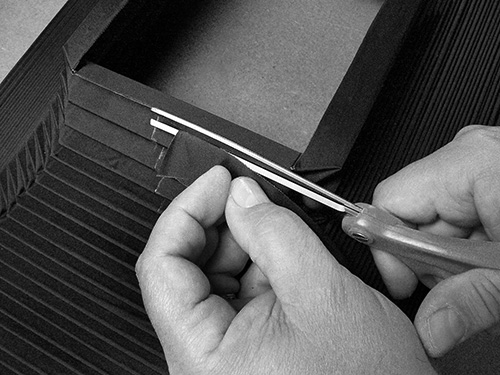
The camera parts were machined and fitted in the same order as the 4×10 camera. Construction began with the camera bed. Everything about this camera is bigger, hence the machining fixtures and individual parts are bigger. This project has taken much more time to complete because of the size.
All of the large metal parts were fabricated from aluminum. Brass is about three times as dense as aluminum, which makes it three times as heavy. Aluminum hardware is a necessity, especially for the larger parts, in order to keep the weight of the camera manageable.
For cosmetic reasons and to prevent oxidation, all of the aluminum had to be gold anodized. Anodizing a small number of parts is expensive if you use a commercial plater, and becomes more expensive if you have to remake parts. Fortunately I had learned to anodize aluminum for earlier projects I have undertaken, so this was not a concern. I anodized parts in batches as they were completed. This also adds to the time required to complete the project.
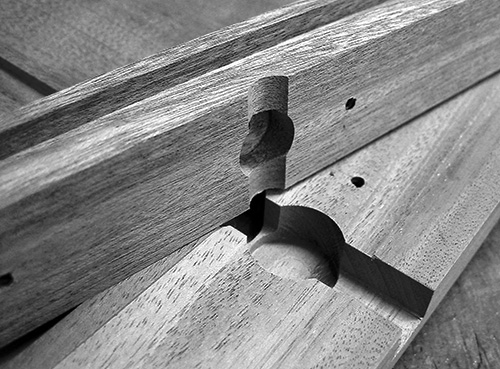
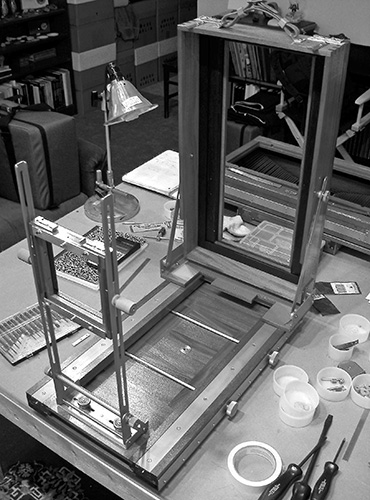
The finish, final fit and assembly of the vertical 8×20 camera body went as planned. Each subassembly of the camera body was fabricated and fitted together. Once complete, the entire body was disassembled and the wooden subassemblies were given several coats of clear varnish. When all of the parts were dry the entire camera was fully assembled and fine tuned for proper fit.
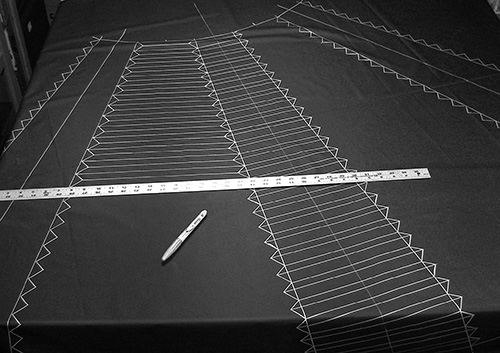
The bellows for a camera of this size is quite large and requires a single piece of bellows material about 48×70 inches. There are 224 hand cut and glued card stock ribs. It took about 22 hours to complete. Once folded and installed, this bellows has a maximum draw of 43 inches.
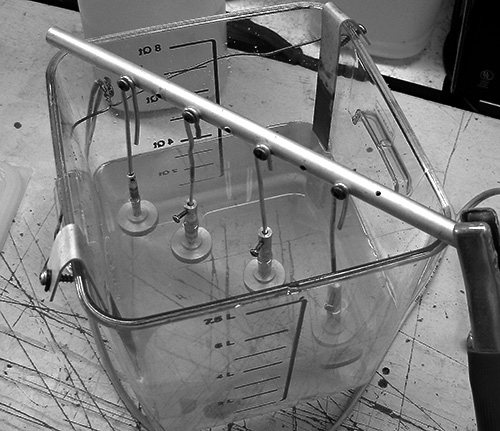
At this point, all that remains is the ground glass. It takes about 2 hours to hand grind a glass of this size. The process uses two grades of aluminum oxide grinding compound used to finish telescope mirrors. Once the ground glass was completed and installed, the entire camera was inspected for proper fit and operation. With the camera completed, the body was hand waxed and then it was off to the back yard for some film testing. Susan exposed several sheets of film and confirmed that everything fit and worked properly. The film was processed and inspected to make sure there were no light leaks and at this point, the camera is ready for field use.
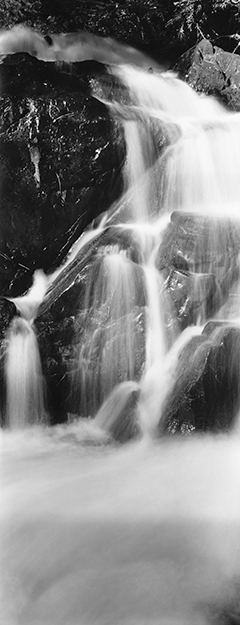
The completed vertical 8×20 is 24×14.25×5.75 inches folded and weighs 22.3 pounds. This camera, like its factory horizontal cousin, is not well suited for packing. These are what you might refer to as, near-the-vehicle-cameras. Our web site, www.jbhphoto.com, contains numerous examples of our photography and more photos of these two cameras during construction.
In conclusion I think the real question would be, would I do this all again? My immediate answer would be yes! If I didn’t feel the project was worthy of my time, I would not have undertaken it in the first place.
We have a philosophy, of not wasting creative time on the hardware. I feel too many photographers spend too much precious time worrying about the hardware. A camera is just a light tight box that holds the lens and film. I know this is a strange view coming from someone that just spent six months building two custom cameras, but my point is you should own the finest equipment you can afford. A fine camera will not make you a better photographer, but a fine camera is not a distraction to your artistic efforts. If you have to waste your creative time and energy fussing with your equipment. . . changing, aligning, banging on it to get it to work. . . you are wasting time and energy better spent making a photograph.
To view the black and white photography of J.B. and Susan Harlin, and to see more photographs of the camera building project, visit their web site: www.jbhphoto.com