 Everyone has their personal way of doing most anything. I have sorted through what works for me and it may not be the only way to do things, but it is the way I have refined and standardized my working habits. (I hate the term ‘workflow’ sounds way too digital for me.) What I have tried to do is explain how I work in the darkroom. You can use my methods as a starting point and determine what works best for you.
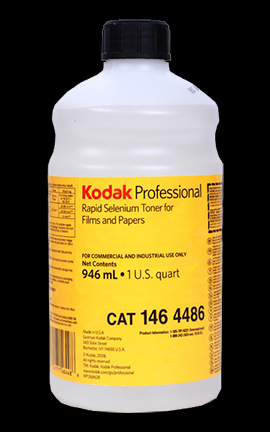
Selenium toning of finished prints is a given for what we do. Every print is toned in selenium, for permanence, a slight shift in print color, and to enhance tonal range. We have used numerous dilutions of toner and what works for one paper and developer combination, may not work for another. When it comes to the dilution and time, you have to experiment.
Here is how we selenium tone prints. Not sure exactly where all of this came from. Some from Ansel Adams, others from Fred Picker. Never the less, here is our standard procedure.
Prints are developed, stopped in acid stop, then fixed in an acid sodium thiosulfate fixer for four (4:00) minutes. The finished prints are rinsed in running water for five (5:00) minutes or so, then transferred to an archival washer. The washer is used as a holding bath during a printing session that may last all day.
Once printing is finished, each print is evaluated and may receive further processing by some selective bleaching. After bleaching, the prints are washed again in running water and again end up in the archival washer for storage.
At this point it is time to start toning. We use three trays when selenium toning. The first contains plain hypo (Hypo), the second selenium toner at some predetermined dilution (Toner), and the third tray is hypo clearing agent (HCA).
Prints are removed two at a time and placed, back to back, in the Hypo tray for about four (4:00) minutes. This is your second fix. The Hypo is an alkaline fix and is necessary to prevent stains, since any acid in the toning solution will result in undesirable stain. If you use an acid first fix as we do, be sure to wash well before placing into the Hypo. You do not want to carry any acid into the alkaline Hypo.
