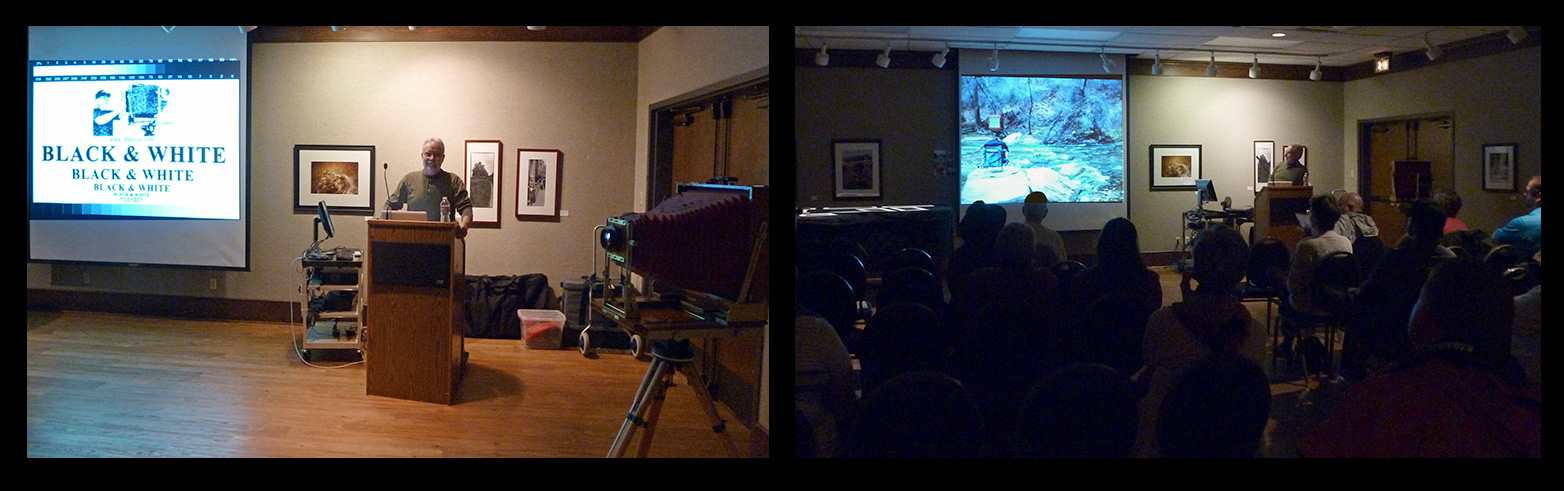
We would like to thank Larry and the TCC Exposure Club for inviting us to speak to their group last Wednesday. We had an enthusiastic crowd, with plenty of questions and discussion about big cameras and black & white film.
JB

We would like to thank Larry and the TCC Exposure Club for inviting us to speak to their group last Wednesday. We had an enthusiastic crowd, with plenty of questions and discussion about big cameras and black & white film.
JB
 I keep harping on the same old line, but it is true that everyone has their own way of doing things and I am no different. But it seems that I continue to get questions about how we work. There seems to be a misconception that when you contact print that Burning and Dodging (B&D) are not possible. That is 100% malarkey! Whether you use a spring back or vacuum frame, the image on the negative is visible against the white printing paper. Burning and dodging is exactly the same as enlarging.
Now having dispelled the myth about contact printing, and understanding things work the same, I find there are two B&D tools I use all the time. Yes, there are times you will have to cut strange shapes to make a particular B&D tool for a certain image. No matter what special shapes I may need, I find two shapes that are universally used most of the time.
By far my most used B&D shape is a rectangular piece of mat board. I use this for edges, sides and most any other large areas. The second most used B&D shape is a specially modified rectangle for edge burning. I seem to forever need to burn all four edges of most prints and why burn each edge one at a time? I cut a piece of mat board smaller in both dimensions than the print I am making. Then I cut off all four corners at a 45 degree angle. This is my Edge B&D tool and it sees a lot of use. I can burn all four sides of a print in one exposure. The farther you hold the tool from the print, the larger the area that is held back. Moving the Edge B&D card either in a slow circular motion, or moving slowly up and down, yields a nice even edge burning all the way around the print.
I mostly print 8×10 and 11×14 negatives, and I mostly contact print, so I have two Edge B&D cards for those size prints. I use a custom handle to hold dodging shapes fashioned after Fred Picker’s Lawton Dodger. Most of the time, I have my Edge B&D card taped to my dodger.
This is something to think about and may work as well for you as it has for me. And, this is not just for contact printing. It works equally well for enlarging. Try making your own Edge B&D card, you may like using it!
JB
 We went on another December and early January expedition to the Southwest again this year. This time we trekked to California and the Eastern Sierra, then backtracked to Utah to visit some of our favorite places to photograph. We saw mild weather and very cold weather on our journey. We had blue skies, cloudy skies, rain and snow. Susan and I shot a lot of film, and now it is time to get the notes in order and begin the darkroom work.
We photographed 20 days of the 30 days we were out. We drove 4,102 miles and made a lot of snapshots. HERE is our latest trip album. . . enjoy!
JB
 Let me begin by qualifying what I am about to discuss by saying that I am a traditional B&W photographer. I shoot film and print in a wet darkroom using traditional materials and techniques. Whenever I talk about photography, I am talking about traditional B&W. I know little about color photography and even less about digital.
I have often heard the argument that traditional B&W is so complicated. I actually heard that from several old-time wet darkroom color photographers. The truth is, working with traditional B&W, wet darkroom materials is very simple. But, there is sometimes a complex deception in simplicity. Keep in mind that the most complex machine, or procedure ever devised is little more than a lot of simple things all working together to create a seemingly complex outcome. True, as you add more steps, each step can interact with the others, but if you break each piece of the greater puzzle into less complex, bite-size pieces, it is understandable and controllable.
When it comes to traditional B&W photography, you only have four basic controls to worry about. There are only four simple things that have power over the major aspects of the end product. . . the B&W photograph.
 The Zone System is always a controversial subject among serious B&W photographers. Seems there are numerous versions and sub-versions of the system devised by Ansel Adams and Fred Archer. Each artist must choose what works best for them. Like most everything in photography, it is a very personal choice.

 Been some discussion lately about getting started in photography. We seem to have a lot of people interested in film photography. Everyone started somewhere and everyone has a story. I had written earlier in another BLOG post about the book that got me started doing my own darkroom work, but I never mentioned my first camera. I used my Mother’s Kodak No. 2A Hawk-Eye folder for my very first photographs. My Mother always had to break out the camera and make a quick snapshot when anything interesting was happening, mostly family gatherings, maybe a trip or school event. She always said, “now let me get back a little farther so I don’t cut your head off.” I have many snapshots of the great scene with these little tiny people in there somewhere. I never could break her of that habit.
 I ran onto an article by David Vestal published in an old Photo Techniques magazine from 2002 that seems to sum things up very well.
“Some people say that we should never crop photos. They’re wrong. When cropping will help the picture, it’s better to crop it than to leave it uncropped. If it doesn’t help the picture, then why bother? But it is an option, and it’s not a moral issue. We don’t need anyone’s permission. If you do it, do it well.” *
I couldn’t have said it better. . . thank you Mr. Vestal!
JB
* David Vestal, Advanced B&W Printing, Photo Techniques Magazine, 2002