 I have always been an advocate of vertical integration. The more you can do yourself, the better control you have of the outcome. For many years I used prepackaged photo chemicals and have never had a problem. But, as the traditional darkroom and the materials used become more and more an alternative process, commercially available photo chemicals are getting harder to find. Some favorite chemicals have vanished. An old favorite, the Zone VI line of print developer, fixer and hypo are now gone from Calumet. I recently witnessed 8 bags of print developer and 2 bags of print and film fixer selling for $127.50 on eBay. That is well over double the original cost from Calumet.
The bottom line is, you can mix your own photo chemicals. Sometimes, if you purchase bulk raw chemicals, you can even save a few dollars. Another plus to mixing your own is the fact that you have 100% control. If something goes wrong, you know who to blame. You can also modify the formula and experiment. Mixing your own photo solutions is not hard. It is not rocket science and you do not have to be a chemist. If you can follow a recipe and bake a cake, you can mix your own chemistry for the B&W darkroom.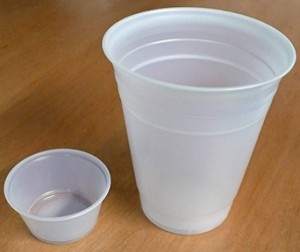
The first thing you need to understand is that in order to mix your own photo chemistry you will be handling CHEMICALS. If you are not comfortable with this thought, do not even go there. But, remember that you are surrounded with chemicals. . . the entire planet is made of them. If you take proper precautions and are careful, there is nothing to fear. I am not a chemist, so I have little understanding of deep details and I have even less inclination to study chemistry. Do as I do, assume that everything you handle in the way of raw chemicals are toxic. Do all mixing in a well-ventilated area. Clean up spills immediately. Avoid breathing airborne powders. Always wear gloves and purchase a respirator with proper filter. A little common sense goes a long way.
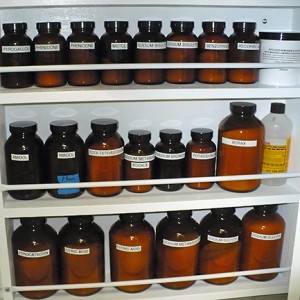 As I said before, for me, mixing photo chemicals is nothing less than following a recipe.
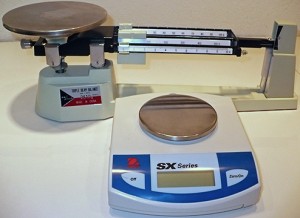
When mixing any photo chemistry formula/recipe you need to accurately measure all of the various chemicals. Most formulas call for dry chemicals measured in grams and liquids in milliliters. I have two scales for dry measure. I have a very accurate digital scale for small quantities and an old-fashion triple beam for larger amounts. I picked up a box of small serving containers at the local big box store to be used as disposable containers for measuring small amounts of dry chemicals. I also have larger 8oz plastic cups for larger amounts. Be sure to use the tare function to zero the scale with the empty container before measuring. Zero the scale with every new container, they do not all weigh the same. Once used, I toss them in the trash. I never reuse one of these plastic containers. This assures there is no chance of unwanted contamination.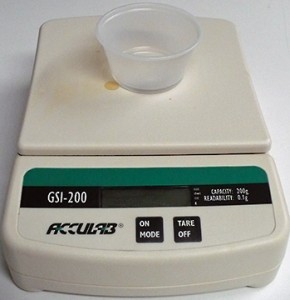
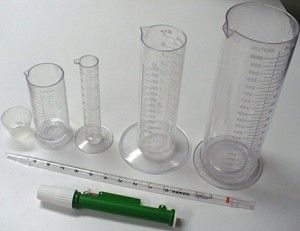
For liquids, I use an appropriate size graduate, and for small quantities, a pipette is the easiest way to make accurate measurements. You can use a pipette pump to make loading and measuring easier, or just dip the pipette into the container and hold your thumb over the end. Remember to always thoroughly wash the pipette after use and always use a clean pipette when going from one chemical container to the next. If the pipette is not properly cleaned, you will cross contaminate your chemicals.
Always follow the chemical formula. Most all formulas are mixed in water and there should be a temperature specified to insure the chemicals dissolve. Always mix in the exact order as called for in the formula. Add each ingredient slowly and continually stir until each is completely dissolved before adding the next. This is where a magnetic stirrer comes in handy. Take your time. Do not rush the process. Some chemicals take some time to completely dissolve.
 I use distilled water for all stock solutions. I always use distilled water for stock solutions and processing film. Unless your tap water has known problems, it should be fine for mixing printing chemicals.
Once properly mixed, store each formula in a clean bottle with a plastic cap. Never use metal caps, some chemicals will cause them to rust and contaminate the solution. Brown glass is best for developers and plastic should be fine for most others. Be sure to label each container as to its contents and also include the date mixed. Most all stock chemicals are good for three months, some much longer.
There are many published formulas. Some popular commercial formulas are proprietary, but in many cases there are alternative, similar formulas that are published. By applying a little experimentation, you can tailor your photo mixtures to suit you. Search the Internet for formulas and pick up a copy of “The Darkroom Cookbook” Third Edition by Steve Anchell.
Mixing your own is not that difficult. With a little study, careful handling, forethought and experimentation you can mix your own photo chemistry.
Here is a list of things you will need or may want to have;
• disposable gloves
• respirator
• apron
• a selection of required chemicals
• accurate scales
• disposable plastic cups for weighing chemicals
• several sizes of graduates for liquids
• stirring rod
• magnetic stirrer
• pipette
• pipette pump
• glass storage bottles
• plastic storage bottles
Resources:
Pyrocat HD a semi-compensating, high-definition developer, formulated by Sandy King.
http://www.pyrocat-hd.com
The Book Of Pyro by Gordon Hutchings
JB

 I have always been an advocate of vertical integration. The more you can do yourself, the better control you have of the outcome. For many years I used prepackaged photo chemicals and have never had a problem. But, as the traditional darkroom and the materials used become more and more an alternative process, commercially available photo chemicals are getting harder to find. Some favorite chemicals have vanished. An old favorite, the Zone VI line of print developer, fixer and hypo are now gone from Calumet. I recently witnessed 8 bags of print developer and 2 bags of print and film fixer selling for $127.50 on eBay. That is well over double the original cost from Calumet.
 As I said before, for me, mixing photo chemicals is nothing less than following a recipe.
 I use distilled water for all stock solutions. I always use distilled water for stock solutions and processing film. Unless your tap water has known problems, it should be fine for mixing printing chemicals.
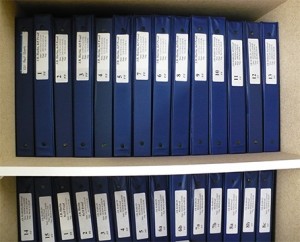 In the last entry I talked about making film notes in the field. That is the first step in the process of record keeping. I didn’t mention the last step which is negative storage. Each negative is marked on one edge with a unique number, then inserted into a clear sleeve then into an archival envelope. Each envelope has the negative number written on the upper edge. The envelopes are then placed into archival boxes, which are labeled with the contents. Also, the smaller film is proofed on our standard paper. These proof sheets are punched, and filed in binders. That pretty much sums up the negative end of the process.
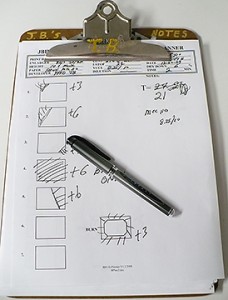 we use to record the process. We make our own print planner sheets using the computer to document every step in the darkroom. Our print planner sheets have spaces to record all pertinent information for the creation of a finished print. It includes the negative number and date, along with the print date, printing paper, developer, enlarger settings and such. The print planner sheet also has a series of boxes to record exposure manipulations. . . burning and dodging. That way if we ever need to go back and reprint, we have a record of exactly how we made the first prints. These sheets are filed in a three ring binder and labeled for future reference if needed.
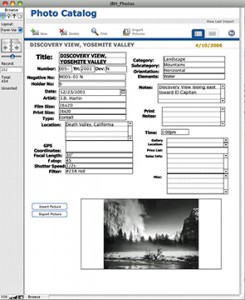 We also keep a computer database which contains our catalog of available photographs. This database contains all of the information from the film and printing notes. The master catalog database also contains information on the number of prints available, price, and exhibition information.
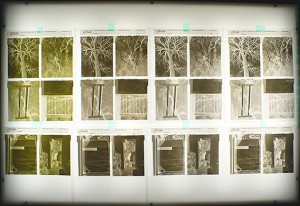
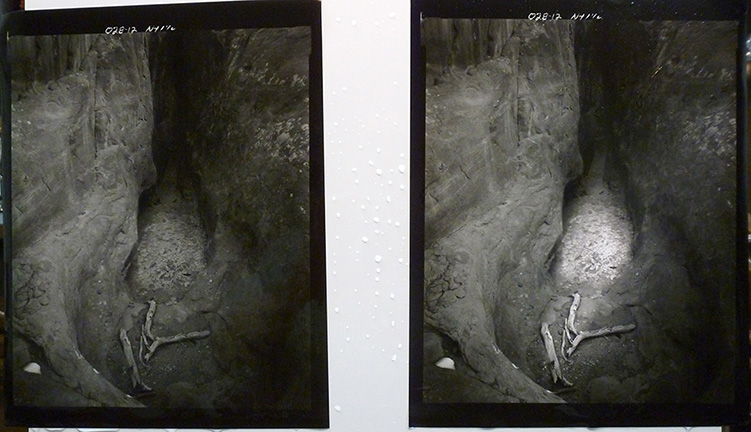
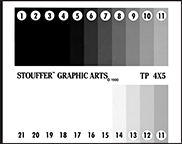 We have been on a quest for that little something extra in the photographic print. There are great prints, then there are prints that have that magical something. Printing comprises a great deal of the quality of the finished print, but you have to have the information on the negative before you can make the print. We have used Pyro film developers for some time now, and every time we find a new formula we do a little film testing and then eagerly head to the field to see what we have.