24
Jul
2014

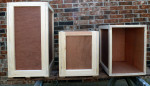
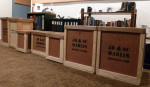
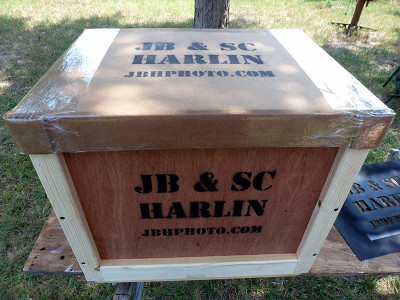 We seem to be doing more exhibitions and it is always a challenge to deliver framed prints. For years we used heavy cardboard boxes, but they are not that durable. It was always nerve racking to handle a box of framed prints on a two wheel dolly when transporting a lot of framed prints. There comes a time when you just have to build what you need. Wood crates are by far the best and safest way to transport multiple framed prints. This is not a difficult project and when you build your own, you can design custom-size transport crates that suit your specific needs.
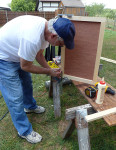
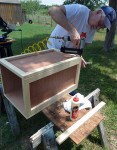
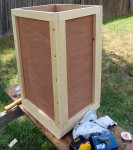
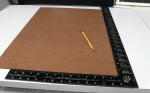
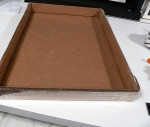
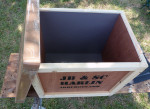
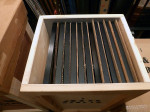
Building a custom transport box is nothing more than designing a simple wooden crate. We also make a cover that slips over the top from regular corrugated board. Gather a few pine boards and a sheet or two of 1/4″ plywood, some hardware and you are ready to start building. I like to use an air brad nailer and a cutoff saw, but you can get by with a few hand tools. I rip 1″x10″ lumber into 2″ runners and this requires a table saw. You could buy pine in 1″x2″ and skip this step if you don’t have a table saw. The side panels are made by cutting 1/4″ plywood to the desired size and then edging it by nailing and glueing 2″ runners on all four sides. These panels are then assembled into the box using more glue, brads and deck screws. The bottom of each crate is reinforced with wooden cleats and also have wooden skids with tapered ends. Take a look at the photos to get an idea of how our crates are built.
Once the box is assembled, I will go over the outside with a belt sander to smooth things out. Next I like to use a router with a 1/4″ round-over bit to round all edges. A little hand sanding and any chance of splinters is pretty much eliminated.