09
Jun
2018

 When we first started working with Pyro developers it took some time to realize exactly how the different look and feel of the film would translate into the finished print. There are those that say there is no difference between different film developers. They may also say there is no difference in the film you choose. That is like saying there is no difference between Ford and Chevy; no difference between red or white wine. Maybe for some this may be the case. But for those that take the time to really look and absorb the image, there is always a difference. Fred Picker said, “different is not the same!”
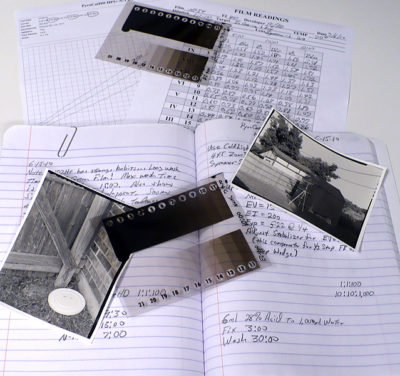 Over the past 20 or so years Pyro film developers have again become popular, with modern reformulations for modern film. John Wimberley, Gordon Hutchings, Sandy King, Jay DeFehr, among others, have done a lot of research and have formulated numerous reincarnations of Pyro film developers, specifically designed for use with modern film. Steve Sherman, Bob Herbst, Michael A. Smith and Steve Simmons have written extensively about Pyro developers and their unique qualities. Susan and I have made our choice based on our own real world experiences. We join with the many others that are also Pyro developer users.
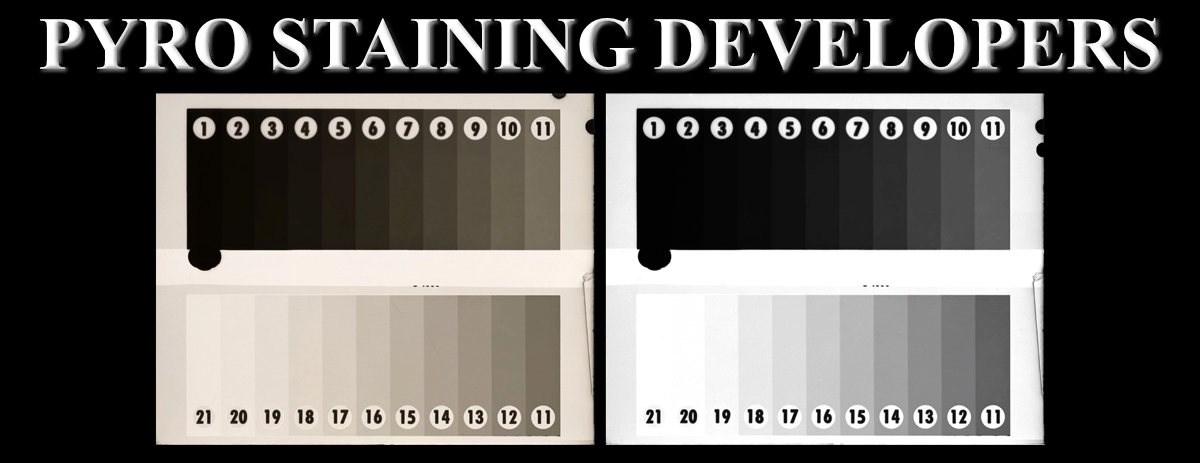
The first time I used pyrogallol was unforgettable. During lunchtime on a hot summer day in 1970, I left work and climbed a hill nearby to expose some test negatives. That evening, I tray processed the 4×5 Plus-X in Kodak D-1, a classic version of “ABC Pyro.” When I turned on the light, what I saw made my heart pound. The negatives were beautiful: tones were spectacularly differentiated throughout the density range, especially in the highlights. And what sharpness! I knew I’d finally found my developer.*
-John Wimberly-
* “PyroTechnics Plus: Formulating a New Developer” by John Wimberly, Photo Techniques Magazine, March/April 2003, p.34-37
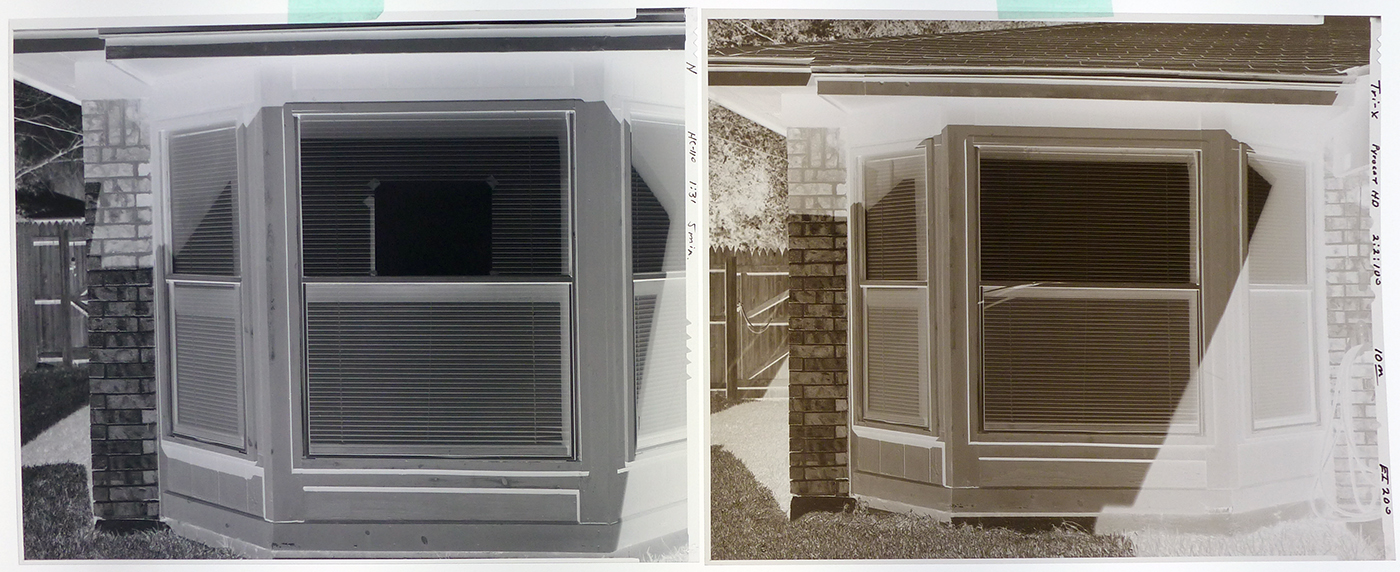
First, here is the subject; a blind cave between two large sandstone fins in Arches National Park.


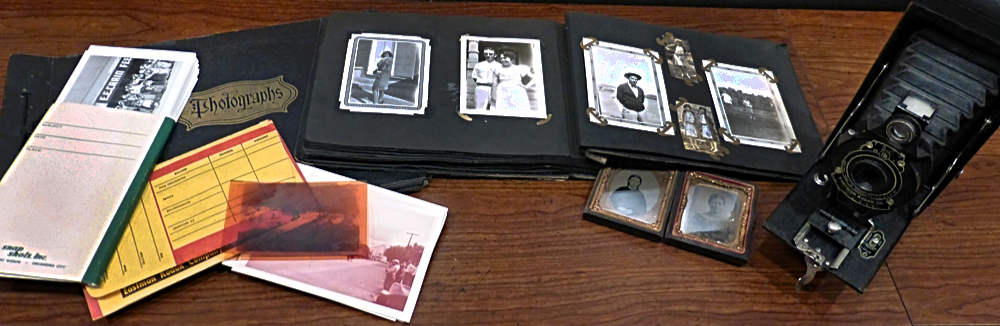
 In the last entry I talked about making film notes in the field. That is the first step in the process of record keeping. I didn’t mention the last step which is negative storage. Each negative is marked on one edge with a unique number, then inserted into a clear sleeve then into an archival envelope. Each envelope has the negative number written on the upper edge. The envelopes are then placed into archival boxes, which are labeled with the contents. Also, the smaller film is proofed on our standard paper. These proof sheets are punched, and filed in binders. That pretty much sums up the negative end of the process.
 we use to record the process. We make our own print planner sheets using the computer to document every step in the darkroom. Our print planner sheets have spaces to record all pertinent information for the creation of a finished print. It includes the negative number and date, along with the print date, printing paper, developer, enlarger settings and such. The print planner sheet also has a series of boxes to record exposure manipulations. . . burning and dodging. That way if we ever need to go back and reprint, we have a record of exactly how we made the first prints. These sheets are filed in a three ring binder and labeled for future reference if needed.
 We also keep a computer database which contains our catalog of available photographs. This database contains all of the information from the film and printing notes. The master catalog database also contains information on the number of prints available, price, and exhibition information.